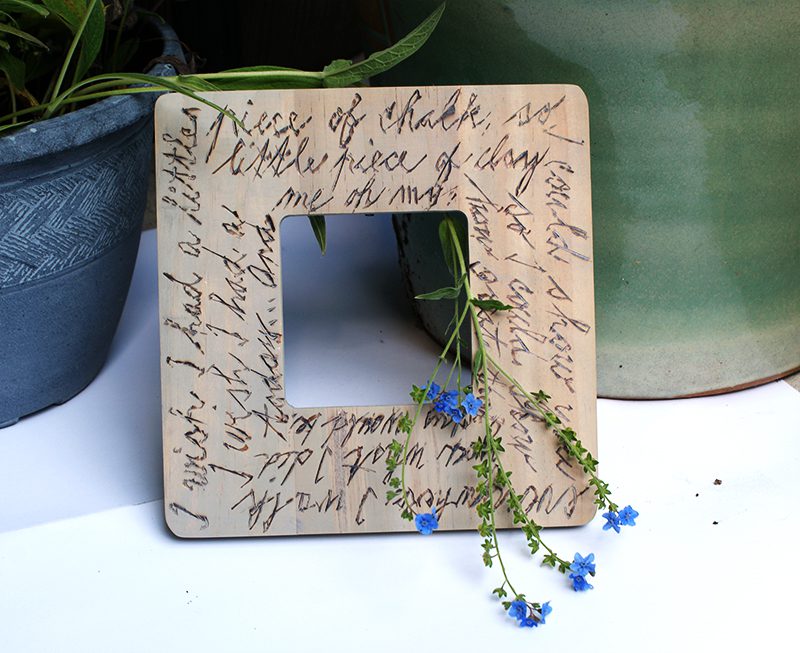
 I can’t believe another month has passed and it’s time for our fourth art & lyrics project! For my new readers, art & lyrics project is a collaborative project I am working on with musician Gina Cimmelli– basically, I take the lyrics of her awesome music and turn them into a fun project. So far, I have created a lyrics tote bag, a wine label printable, and musical coasters. This time, I created a fun frame with one of my favorite tools ever: wood burning tool. Seriously, if you haven’t tried it yet, you just have to give it a go! So here we go- DIY wood burning frame:
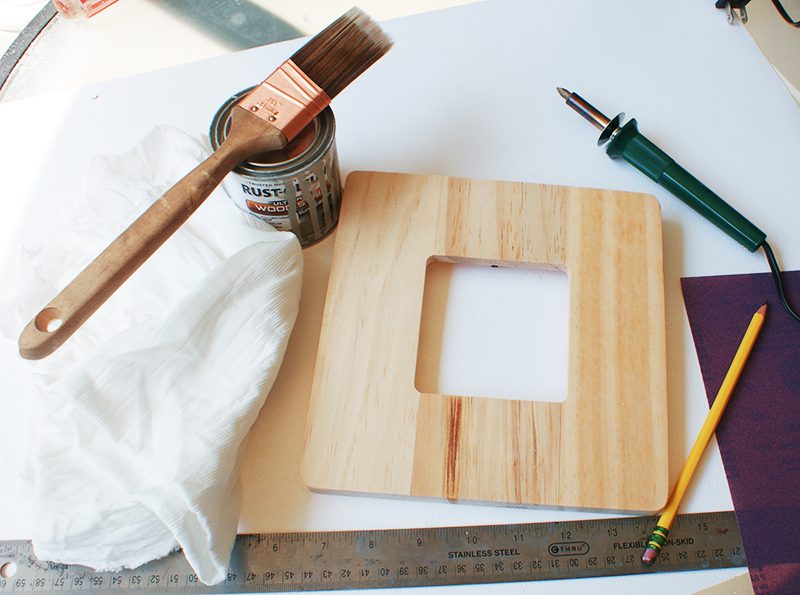 Materials: wood frame, ruler, pencil, wood burning tool
For staining: stain, brush, rags, sandpaper
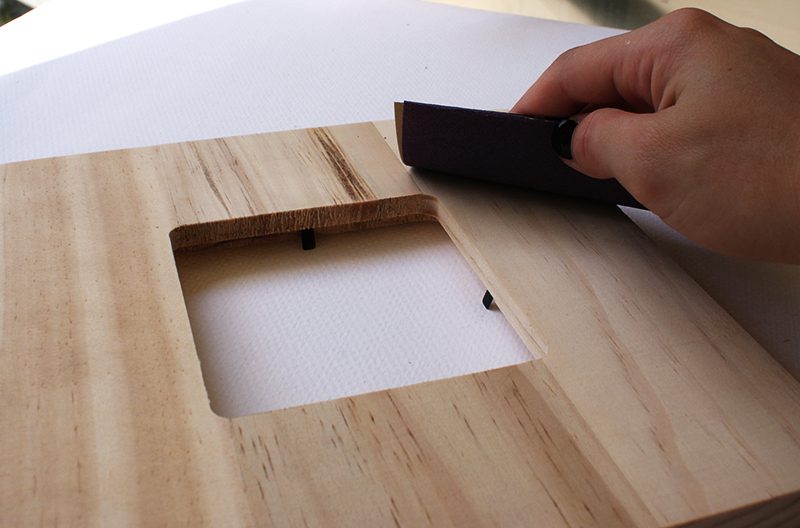 Finish off with gentle sanding.
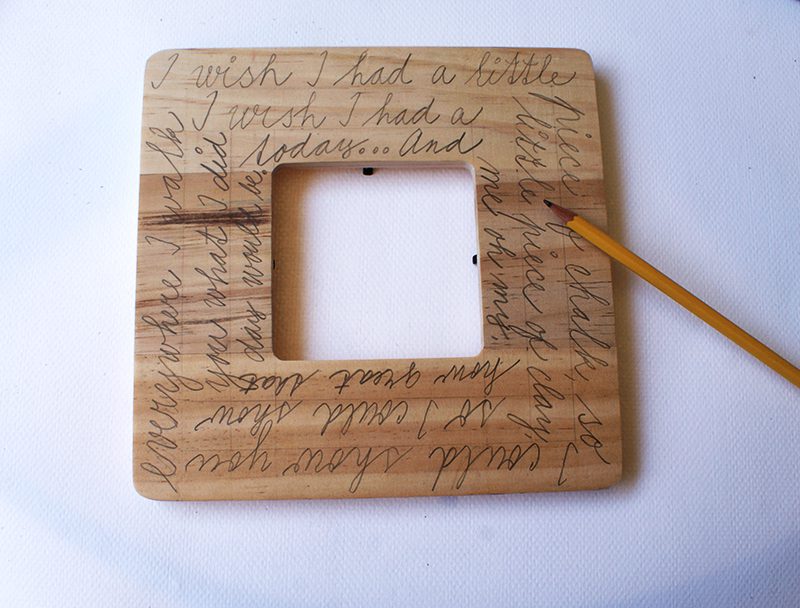 Outline the lyrics first using ruler and pencil. I chose to go with “I wish”, as it is one of my favorite songs.
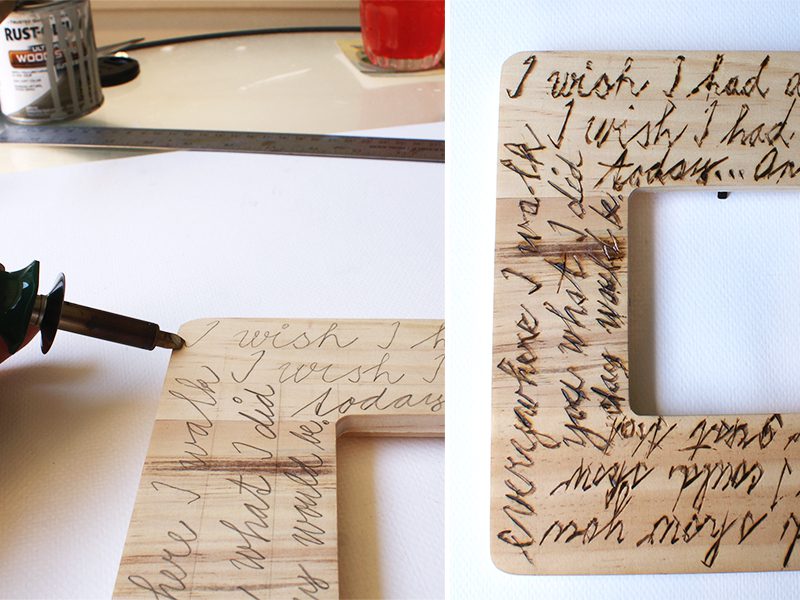 Burn, baby, burn! Slowly write with a wood burning tool over the text. This is pretty hard. It takes a while to figure out how the tool behaves, how much to press, etc. In addition, most tools come with a variety of tips. Experiment and see which one(s) work for you. I only had one tip, and it was a bit of a struggle at times, but I made it work.
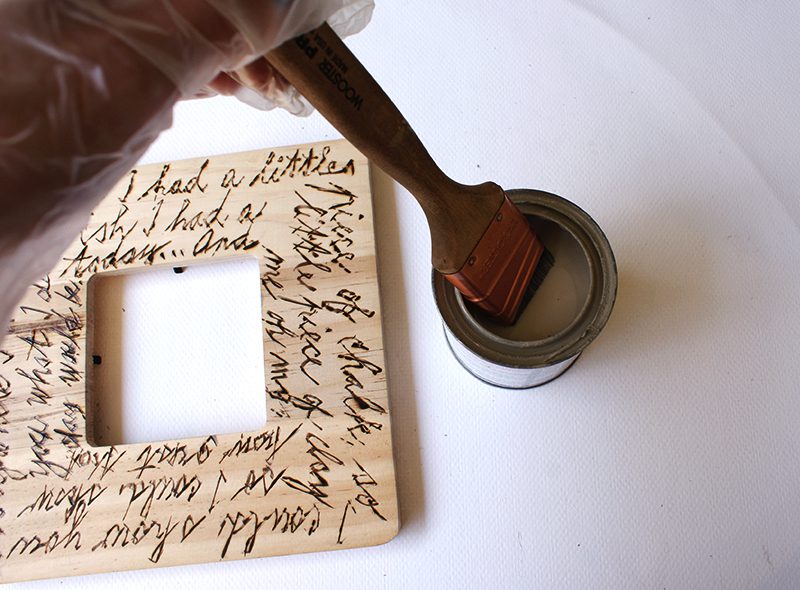
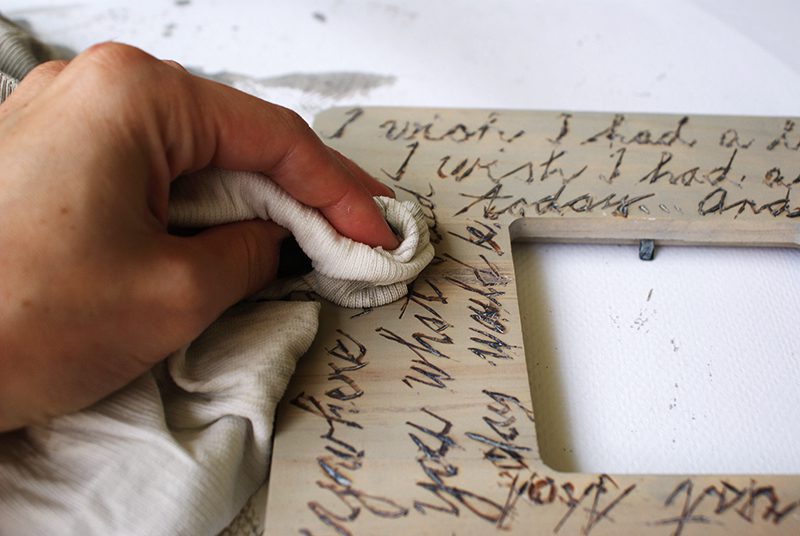 I layered the frame with wood stain. I picked antique white for this project, because I wanted it to look rustic. Let stain sink in for a few minutes- just don’t let it dry. Once the stain dries on the wood, it is virtually impossible to remove. Keep it wet, and then wipe. It is better to do a few layers to achieve the desired color (meaning: apply, wait, wipe). More on wood staining here.
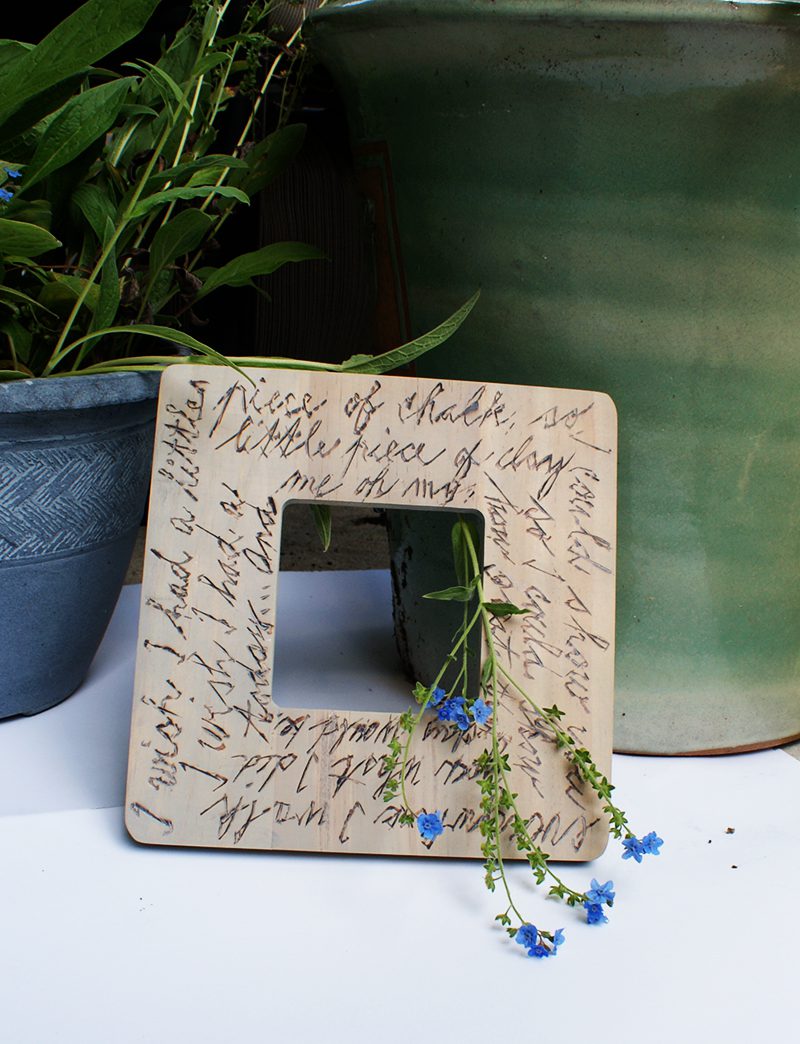
Ready to give wood burning a chance? Love, Marketa

