 I have a few plain, older shirts that I hardly wear anymore. Since I love upcycling, I decided to upgrade my boring gray shirt. After creating a few sketches, I realized that less is more and I added just a little paint touch to create this cute design. So, here we go, DIY Painted Shirt Design:
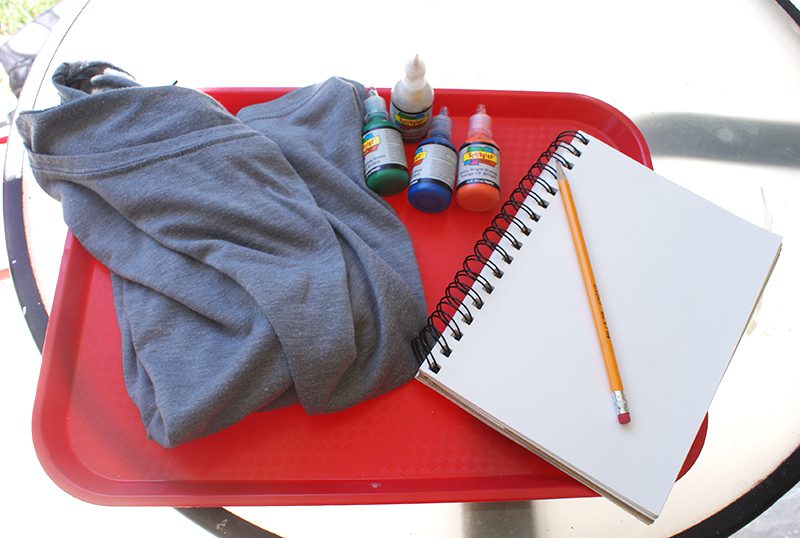
What you need: shirt, fabric paint, sketchbook and pencil (optional)
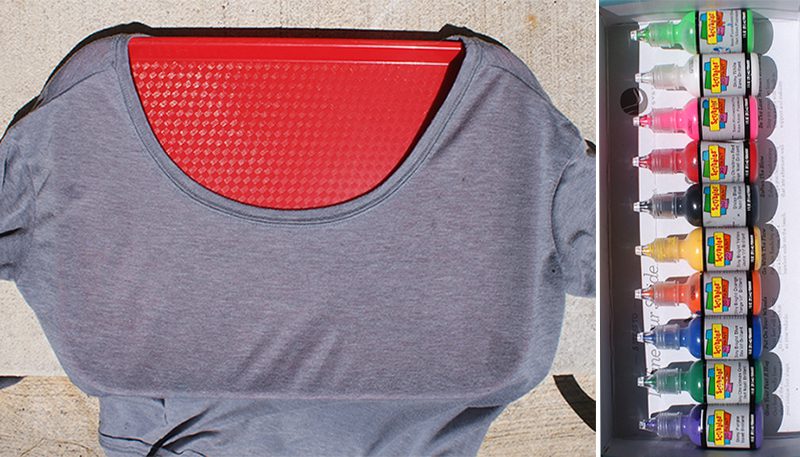
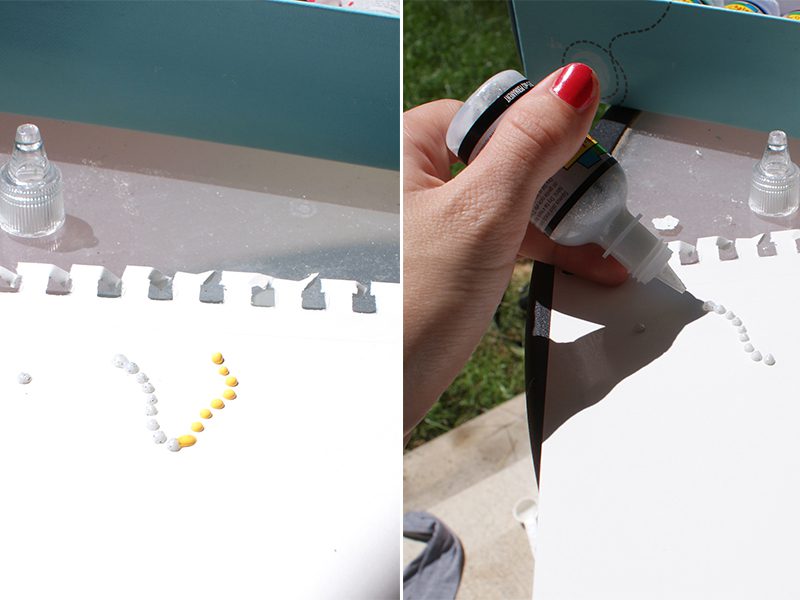 Always, and I mean, always test the paint first. Run a few “dots”. I learnt this the hard way. The effect is achieved by carefully squeezing out dots of color from the paint bottle. It takes a bit of practice to learn to control how much you are squeezing out. Different brands and different colors have different consistency. It is easier than you might think, though. Once you get it, you get it! I had a full box of fabric paint, and thought long and hard before settling on just two: yellow and silver. However, I think that gray and pink is an amazing combo as well. It’s a mood thing, I guess…You know that feeling? Sometimes I am in a “simple girl” mood, and occasionally I feel like I need a little pop (that’s when I take out my long bright yellow skirt!).
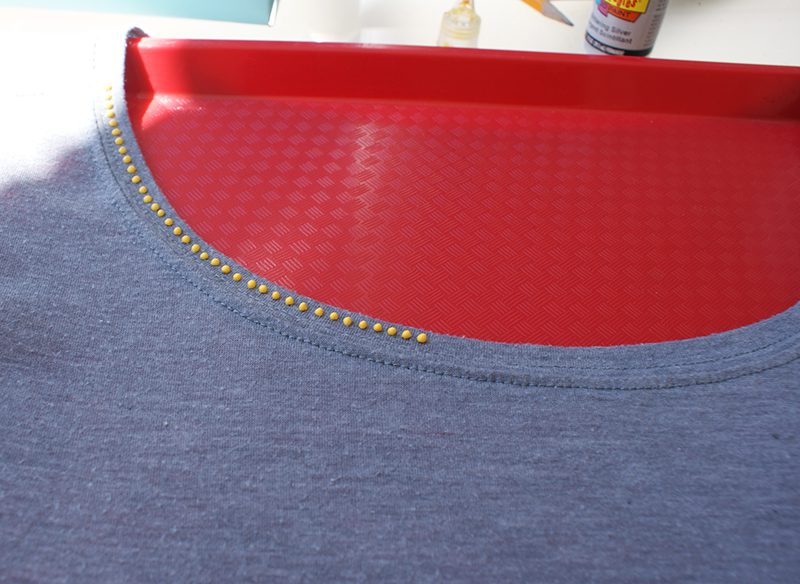
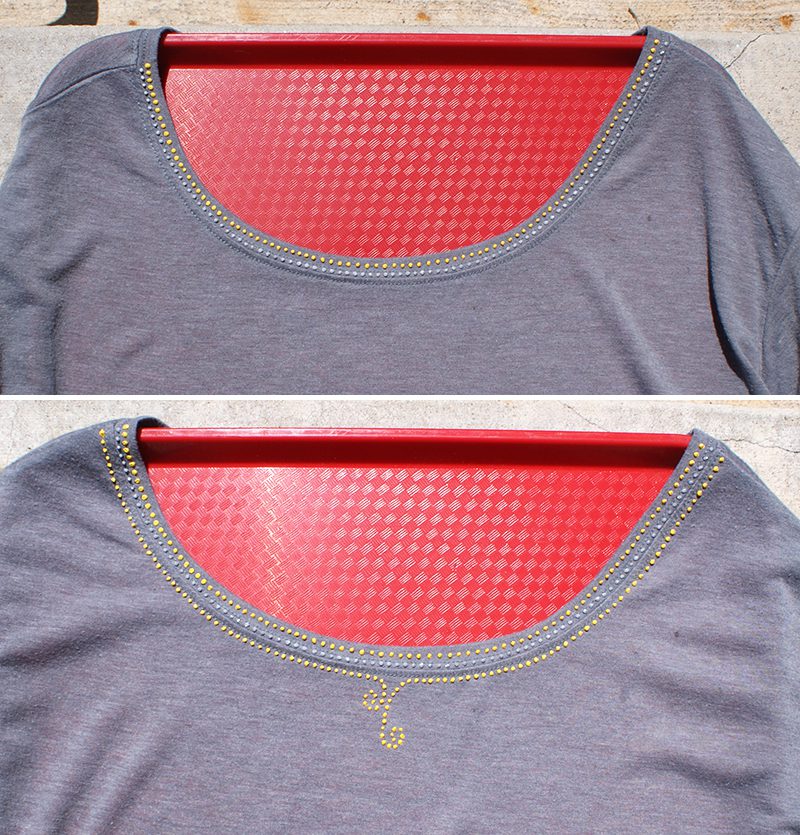
Tip: Be careful not to smudge the dots you made. If you are right-handed, start on the left and move right. Lefties- the other way around. The paint will dry fairly quickly, in a few minutes it should be ok.
 Thoughts? Until next time, happy creating! Xoxo, Marketa


Very Cute I will have to give this a try!
Thanks Lori! It’s a great simple project 🙂