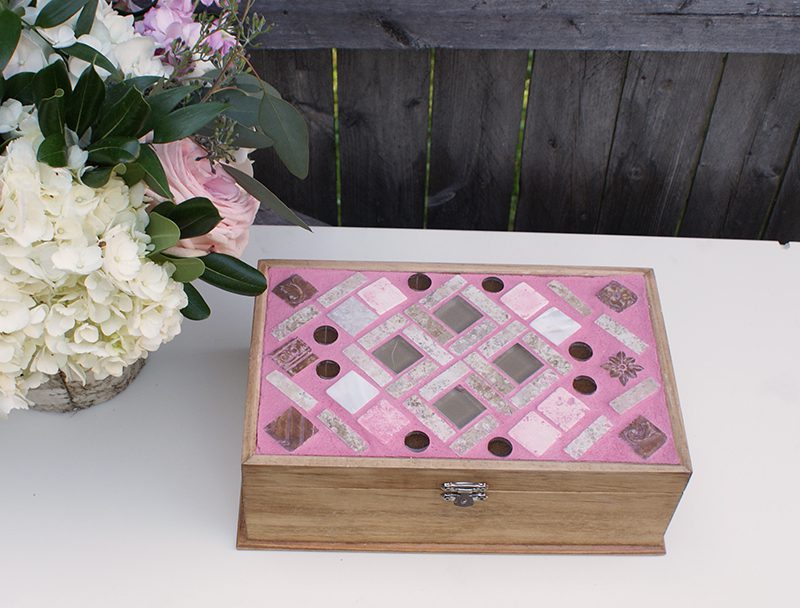
 Remember last week’s DIY Mosaic Pendant? I promised that I was going to share one more project with you- and here it is! I fell in love with mosaics last year, and quite honestly, I went a bit crazy with this technique. I basically mosaiced every surface imaginable. (I know “mosaiced” is not a real word, but considering how much I did it, I think I can coin this term.) The DIY mosaic jewelry box was my favorite! They make a perfect gift, too! Ready to make one? You will need:
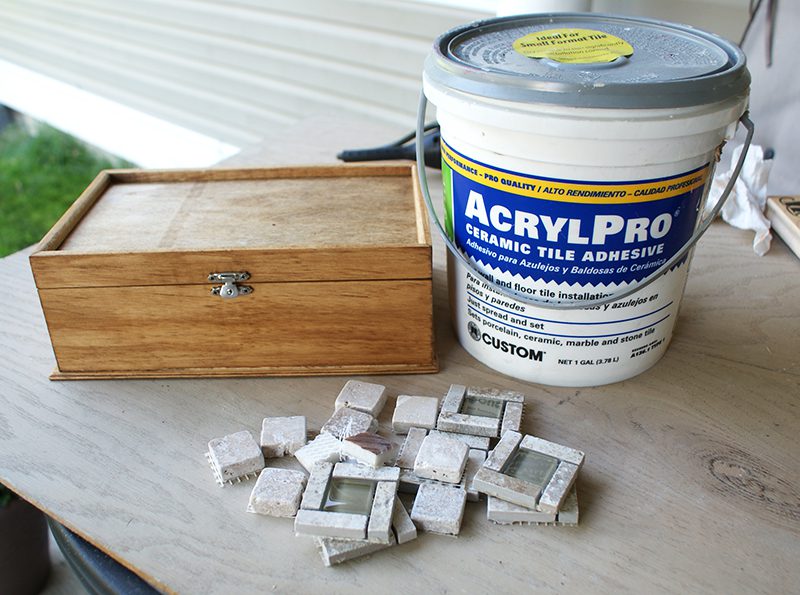 For part 1:
jewelry box (I got mine at a crafting store. Make sure it’s the one with a raised border)
tile glue (you can get this at your local hardware store)
tiles (I used a blend of natural and glass tiles)
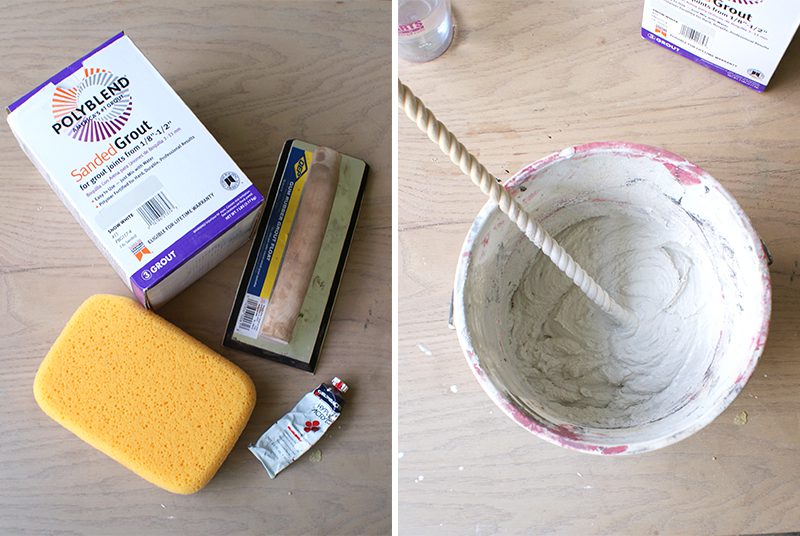 For part 2:
sanded grout
water
bucket mixing stick
acrylic paint (optional)
grout float
sponge
masking tape (recommended)
I am dividing the two steps here because there is a 24 hour wait period between steps 1 and 2. Once you glue down your tiles, you should wait a day to fully cure the adhesive. I myself like to finish my projects when I start them, but I promise you- the wait is worth it!
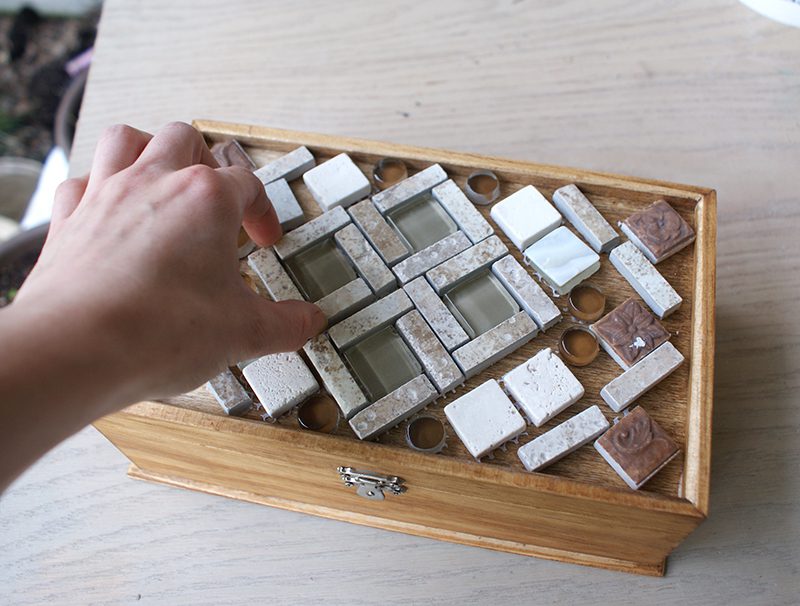 I started by staining my box. If you don’t like the original color, learn how you can stain it here. Designing the pattern is my favorite! This time, I went for earthy tones mixed with white natural stone tiles. I recommend fully designing the pattern and laying it out and then gluing the tiles individually one by one.
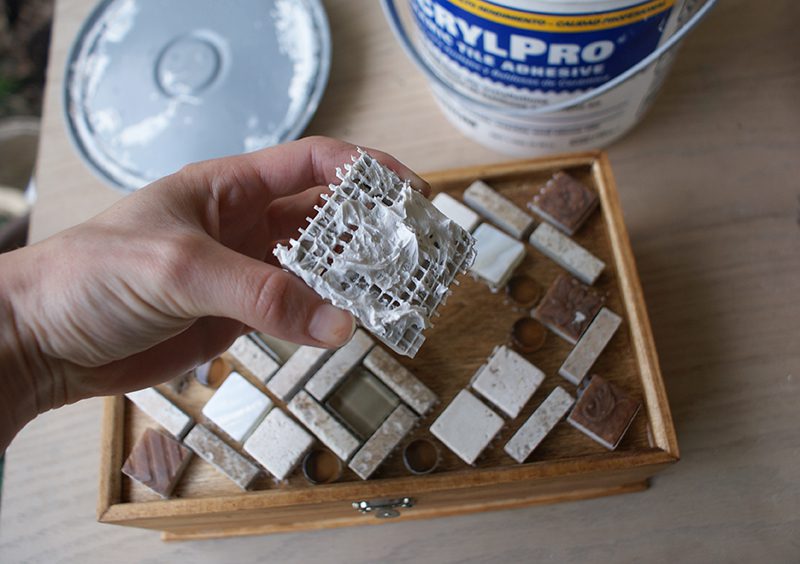
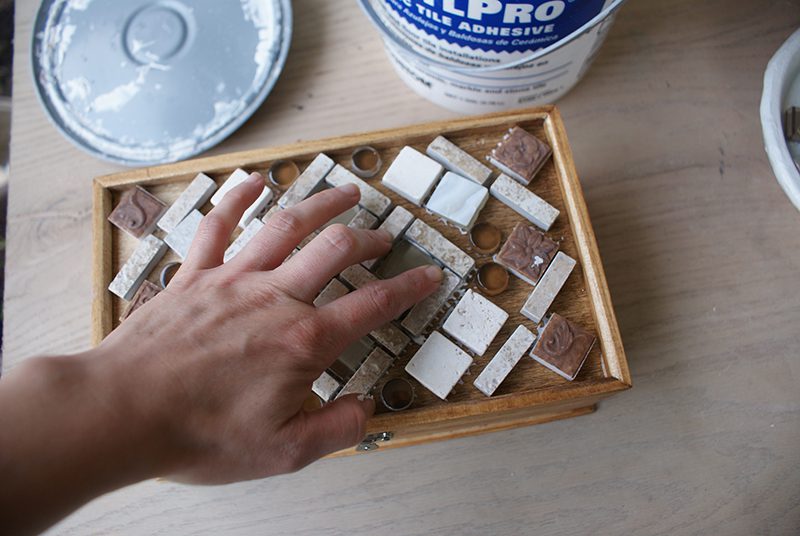
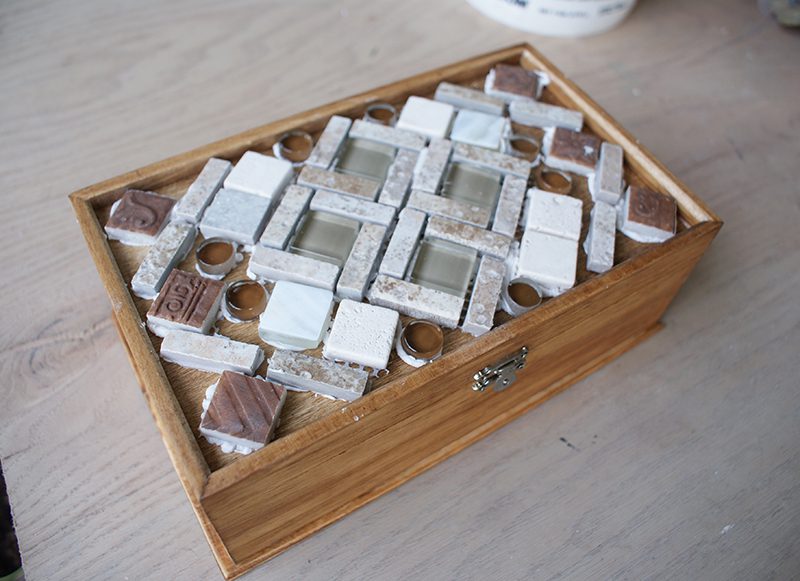 Done with part 1! Now, take a break and come back next day!
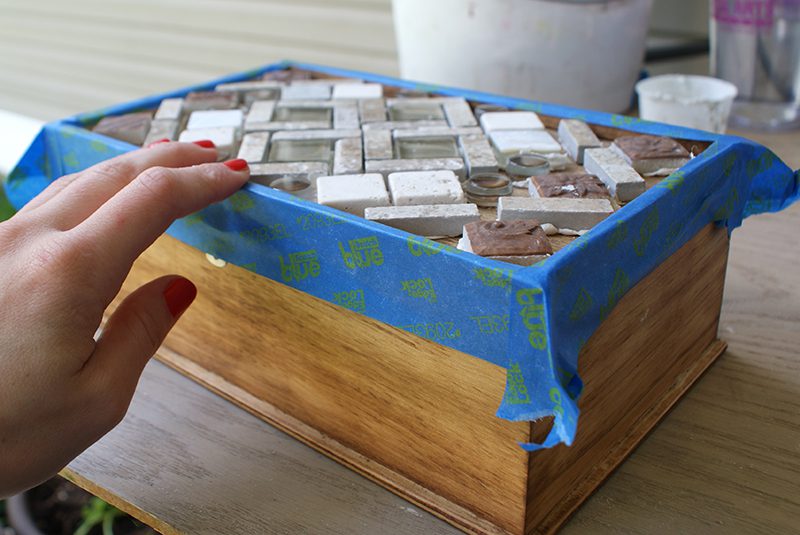 I am messy, so I like to tape off the border. If you are a anything like me, you may want to follow suit!
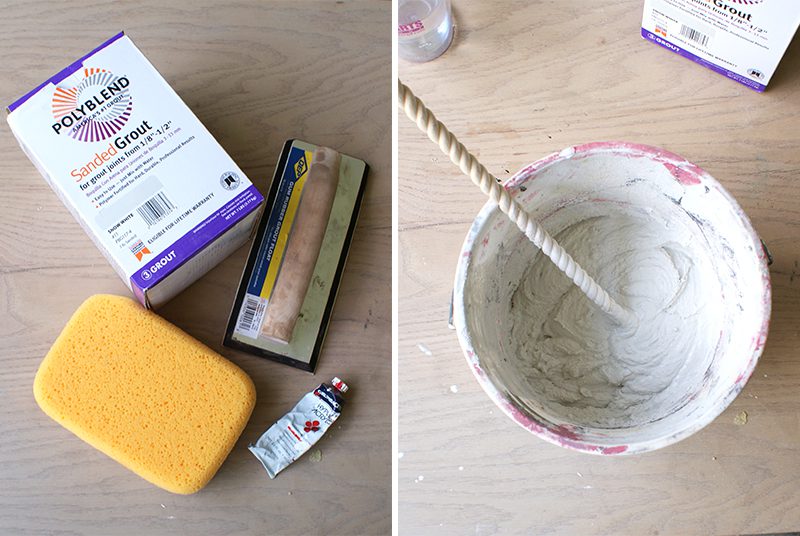 Time to mix the grout: you actually have two options here. You can buy grout that had already been mixed- so no work is necessary. I chose the powder option. I actually like the final version of the powdered kind better (not to mention it’s less expensive). Simply follow the instructions on the box. There are different brands, so each will may have minor differences. I have done this so many times, I just “wing it” now. Believe me, after your second time, you will be a pro, too!
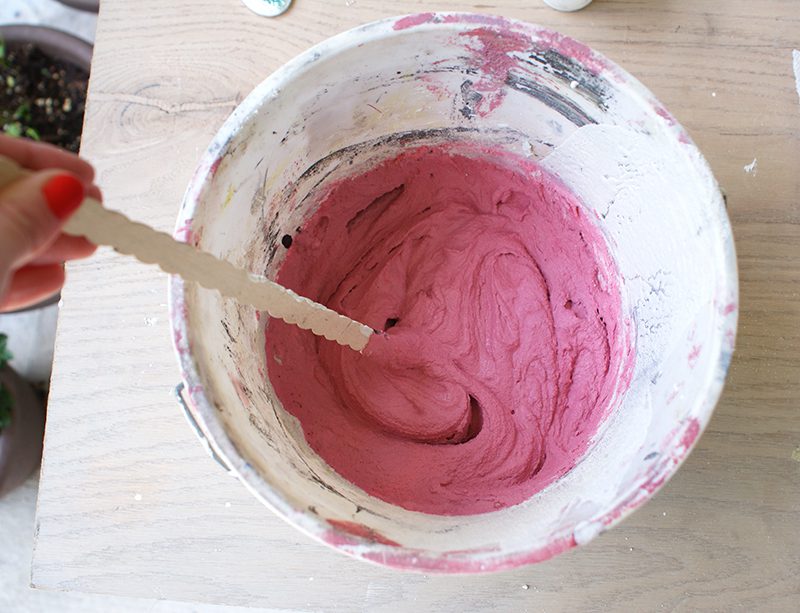
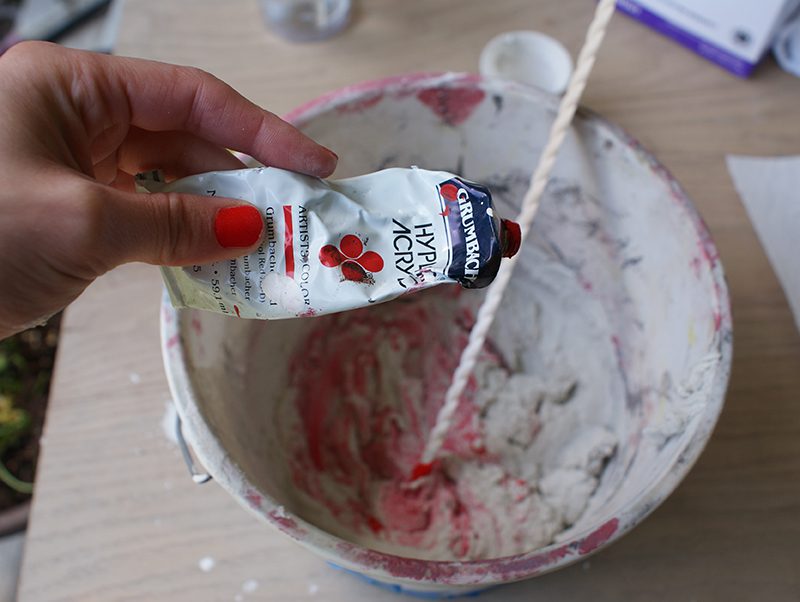 Grout comes in a number of different shades, from white to beige, dark brown and black. You can create any color by adding acrylic paint to white grout. Mix well.
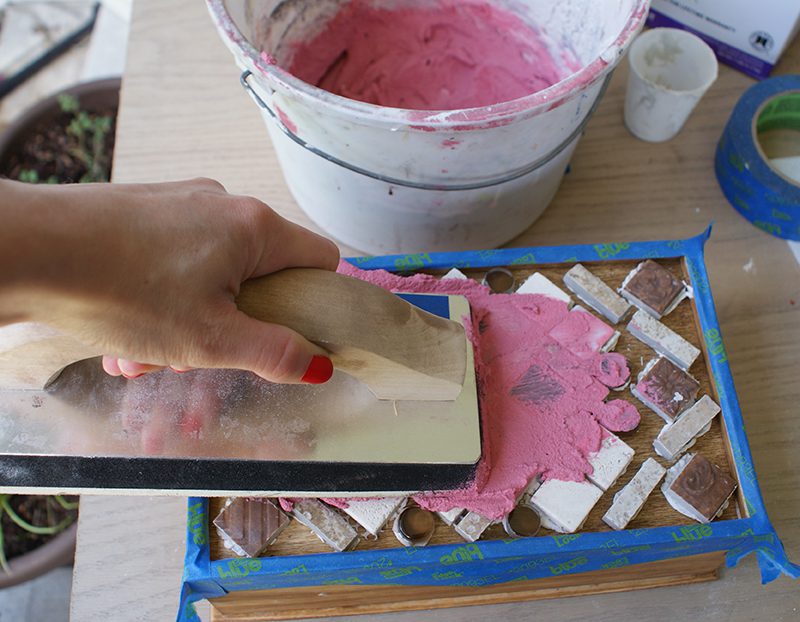 Use your float to fill all the gaps between tiles and to make a smooth layer on top. The curing time for grout is about 20 minutes.
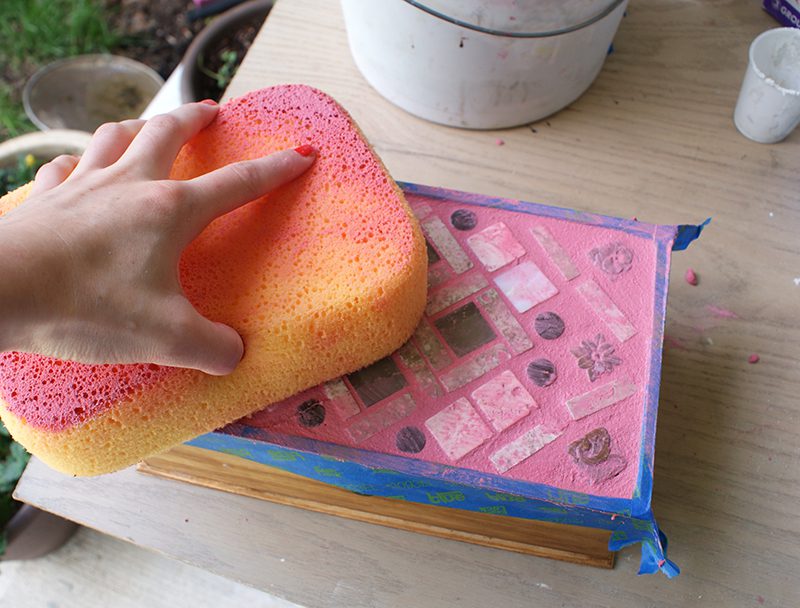 Use a damp sponge to wipe off excess grout and to clean tiles.
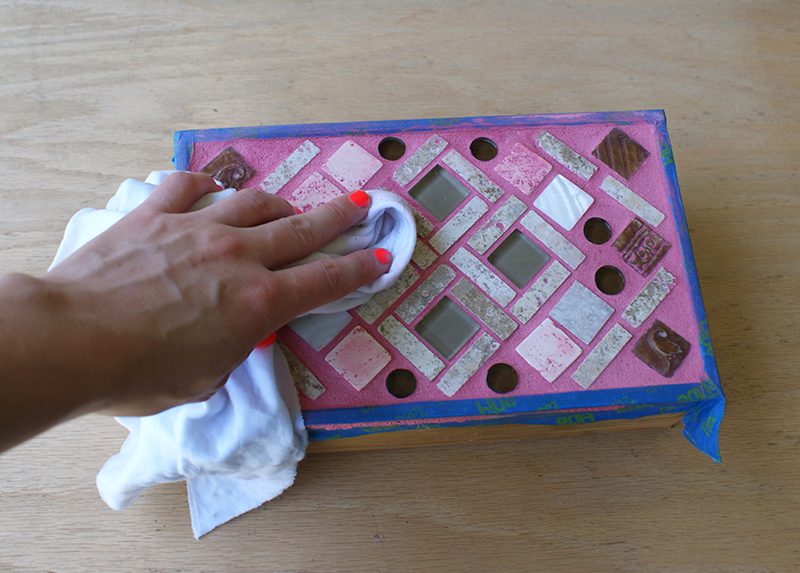 Finish off by polishing off all the tiles. Remove tape. Can you believe how easy it is to make your own mosaic jewelry box? After you make one, you will be hooked, I promise! You may end up tiling your entire house (you have been warned, lol!)
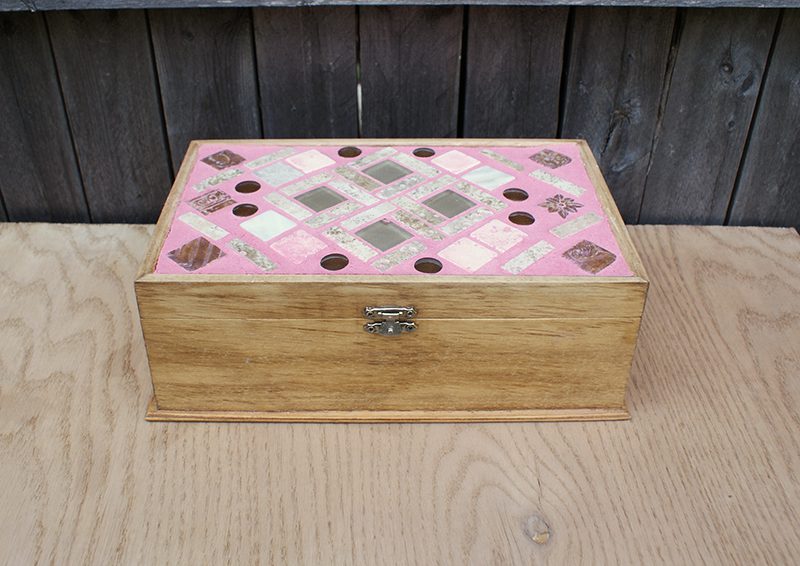
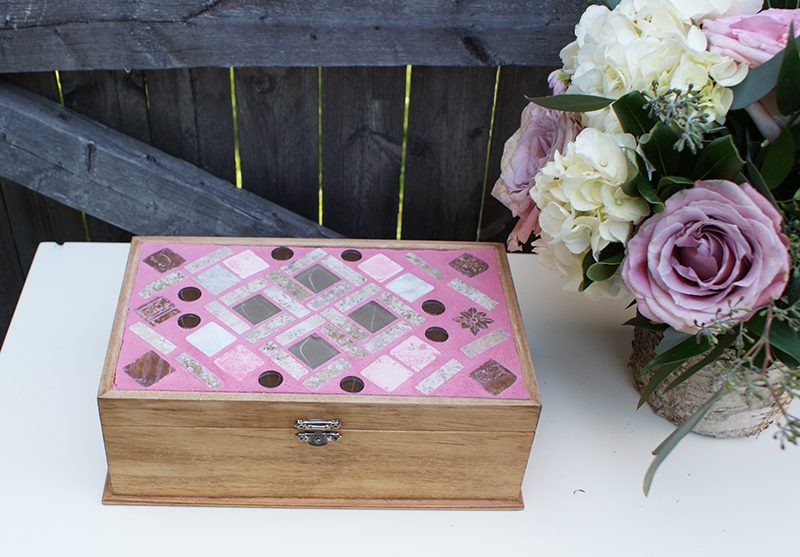
Have you ever done mosaics before? If you have a favorite brand of grout or a really neat trick you came up with, feel free to share! Happy creating! Love, Marketa


[…] and grout aren’t just for kitchens and bathrooms. Create a beautiful and colorful DIY Mosaic Jewelry Box using tiles and colorful grout. Bohemian Mint shows you how easy it can be […]
sweet!! i grown up ,,when school did this kind of stuff,
i no longer work,, so it back to my to fun,, thank you i have a few projects in mind and this just one of them.
i will be back, thanks