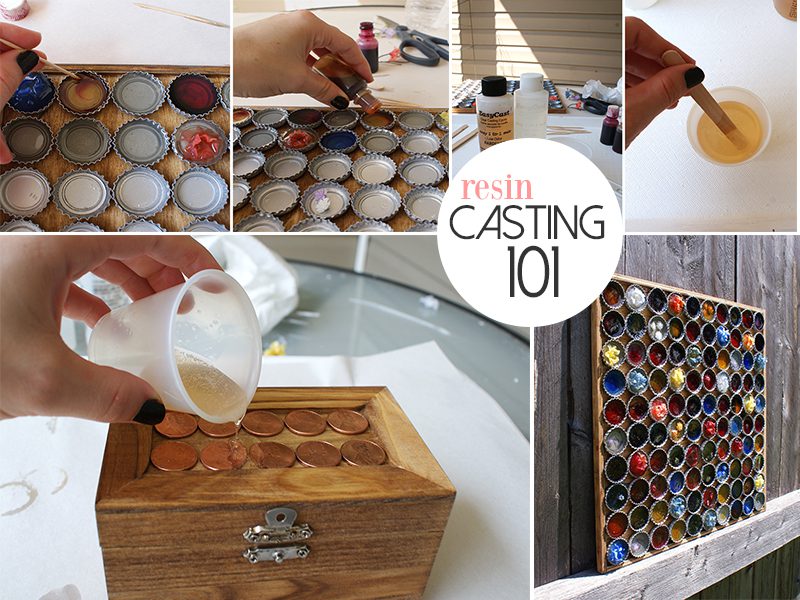
 I absolutely love working with resin. I use it in jewelry making, craft projects, as well as my artwork. I am by far not an expert on resin, but over the years I have definitely learnt some lessons. You can achieve really great effects by adding dyes or by casting different objects. So, if you want to give this a try (and you totally should), here is some Resin Casting 101:
What is Resin?
Resin is a substance that can be found both in the industrial world as well as nature. Remember the premise of Jurassic Park? The insect was trapped in resin. The type of resin we use for casting is called Epoxy Resin. As a chemical, epoxy requires hardener to help the curing process. That’s why you get two bottles in the package.
Ratio
It is crucial that resin and hardener get mixed in 1:1 ratio. Altering this ratio results in poor resin quality. (I can vouch for this, because I have conducted a few “scientific” experiments.)
Temperature
It is important that both resin and hardener are warm before you start working. I put the two bottles in hot water for about 5-10 minutes. The bottles should be warm to touch. Cold mixtures are cloudier and have more bubbles.
Brand
I use EasyCast Epoxy because it is available in stores around me and because I like the results. As I create more projects, I am planning on experimenting with other brands. If you are happy with another brand, please let me know!
Mixing
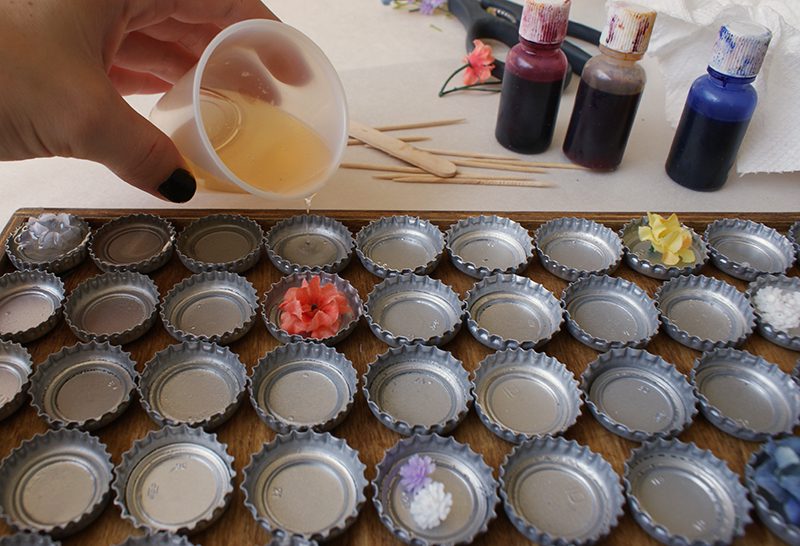
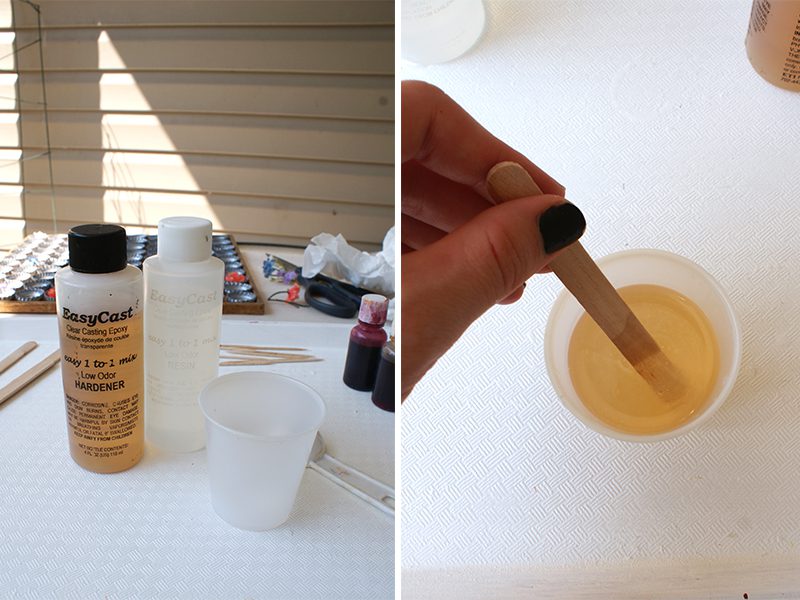 The EasyCast Epoxy Resin calls for double mixing to thoroughly mix the resin and the hardener. Which means, you mix the two substances in a cup (for about 2 minutes) and then pour the entire content in a clean cup and keep mixing (for another 2 minutes).
Adding Materials
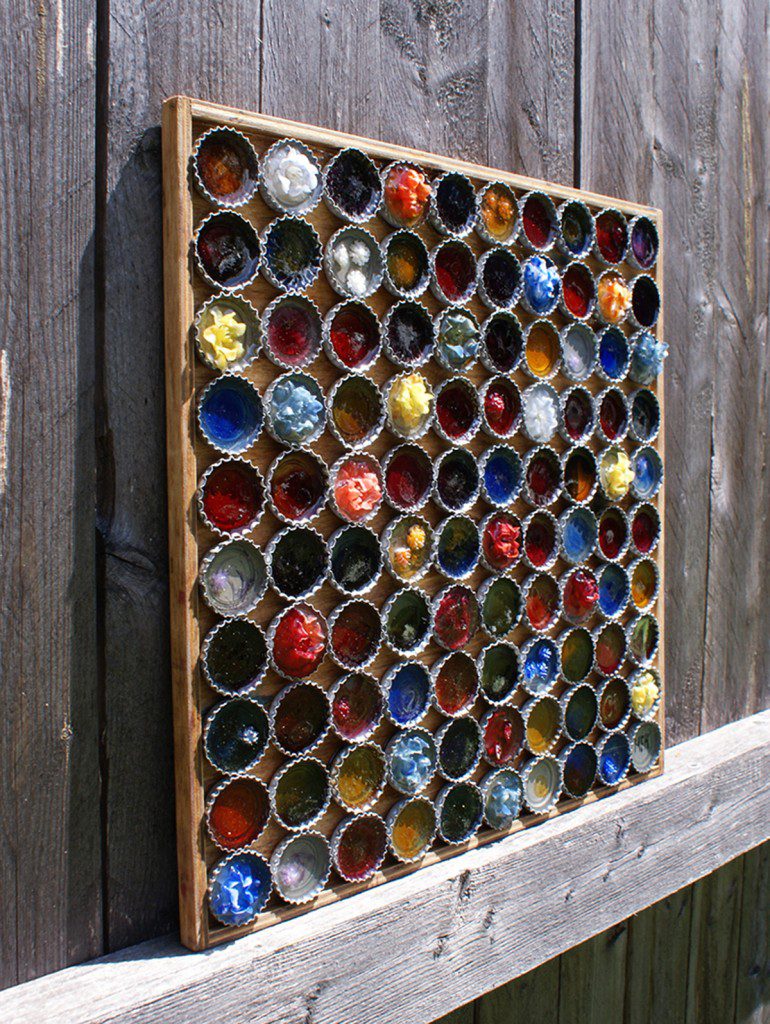
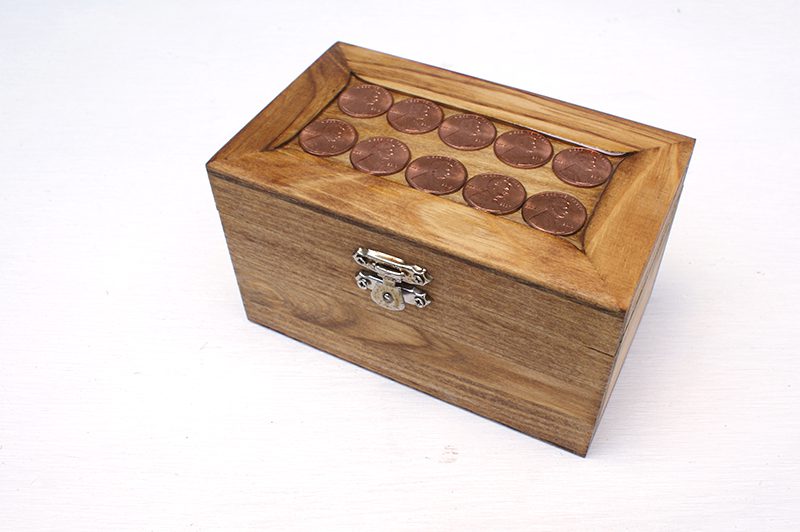
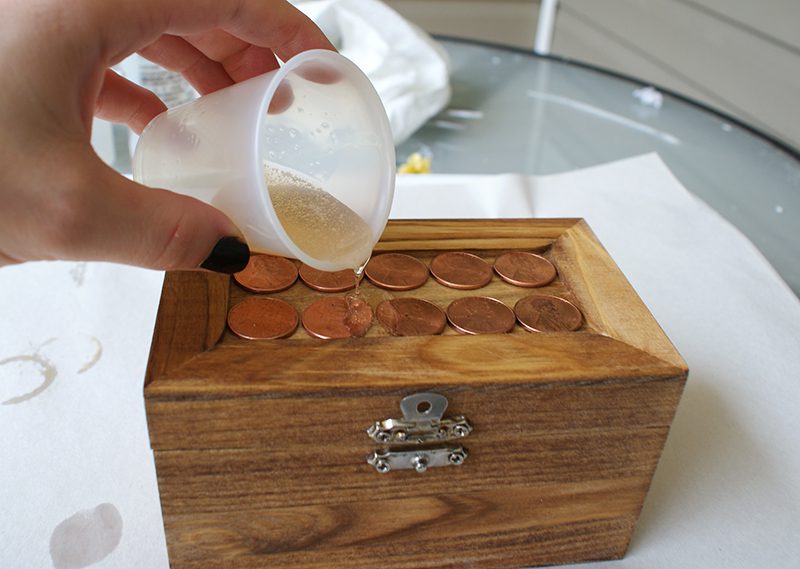
I like to add fabric and/or plastic flowers and other materials (like pennies) to my castings. I don’t recommend using real plants. I have tried on a few occasions, and while it looks great first couple of days, over time, the plant will turn brown and die.
 Dyes
Dyes
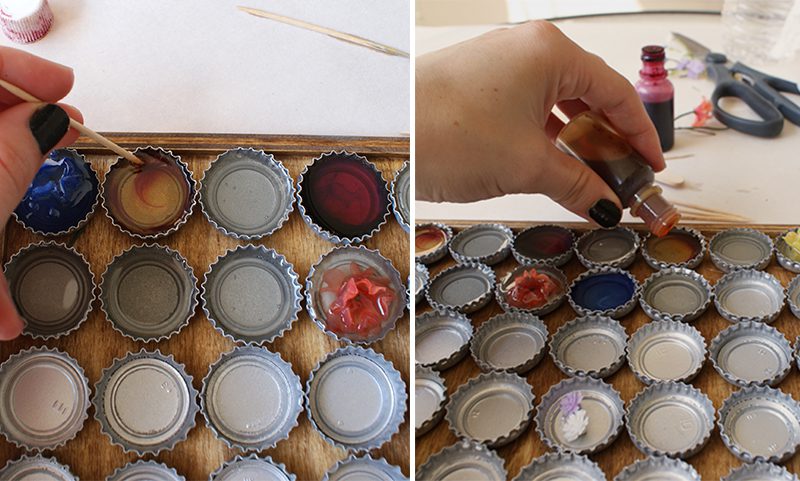
There is a variety of resin dyes available to tint the otherwise clear resin. I have three colors: blue, red, and yellow that I mix to achieve different tones. Tip: use a toothpick to create swirls of color in your poured resin.
 Curing Time
After about 20 minutes, the mixture will thicken and soon after will get hard. However, it will take 24-48 hours to properly cure. This is important especially if you are using a mold- I wouldn’t recommend trying to pop it out before the resin has properly cured.
Helpful Tips to Conquer Bubbles
Once you pour the mixture, you will notice little bubbles in the mix. They will start disappearing soon. But for a few stubborn bubbles, here are some helpful tips:
* Use a toothpick and gently push bubbles on the side or poke them.
* Gently blow on the surface with a straw. Be careful not to inhale.
Safety
While epoxy is safe once cured (it is fine to wear a piece of resin jewelry), it can be irritant in its liquid state. So be careful and wear gloves if you have sensitive hands.
Here are some of my finished resin casted projects! Happy creating! Xoxo, Marketa